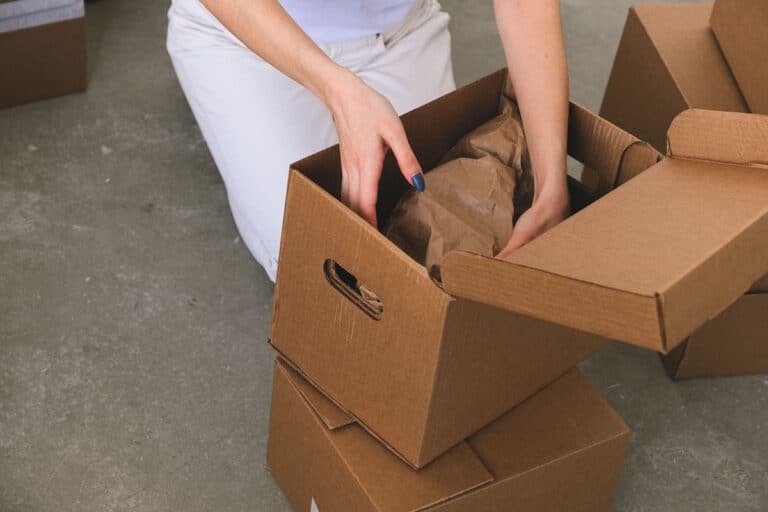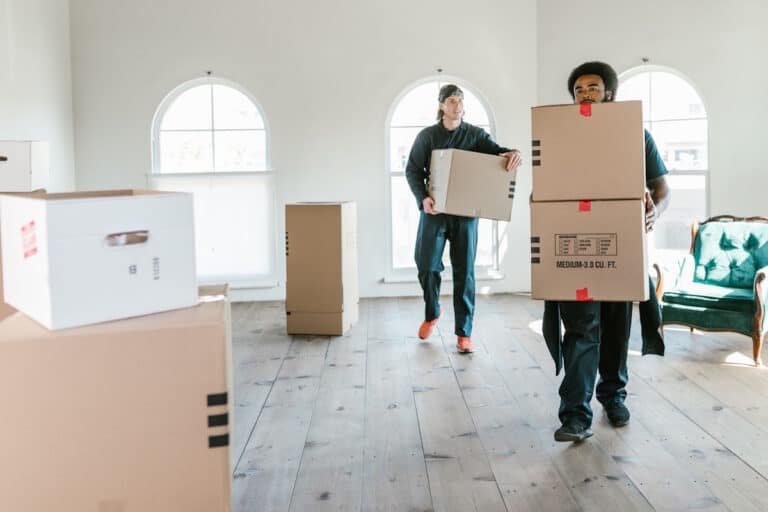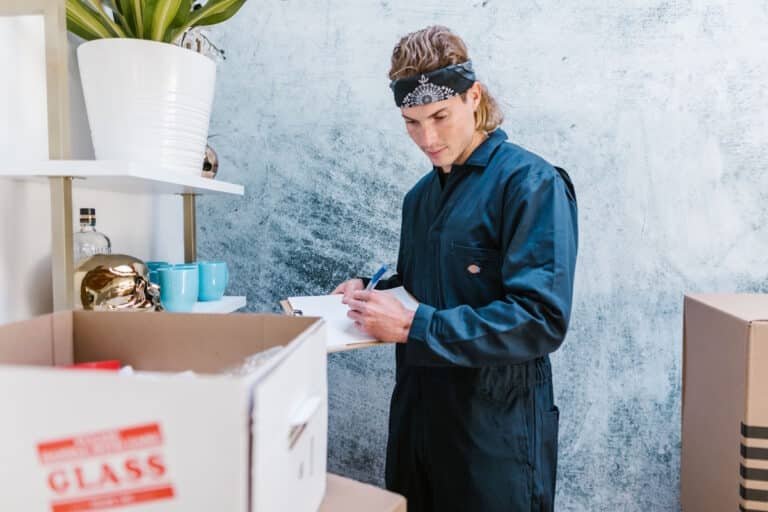
The easiest time to deep-clean a home is before it fills with furniture and boxes. Empty
cupboards are simple to wipe, every corner of the floor is accessible and you can clean
wardrobes before placing freshly washed clothes inside them.
A move in cleaning checklist also helps you use the limited time between receiving the keys
and starting to unpack. You do not need to polish every surface before your first night, but
the areas that will soon contain food, toiletries, bedding and clothing deserve attention first.
Use this guide to clean the property in the right order, identify the jobs that should be
completed before the removal van arrives and decide when professional help would save
more than just time.
Inspect the property before cleaning
Walk through every room before opening the cleaning products. Check for leaks, damp,
mould, pests, damaged fittings, loose sockets, cracked glass and appliances that do not
appear to work.
If you are renting, compare the property with the check-in inventory and photograph existing
dirt, stains and damage before cleaning or moving your belongings inside. An agreed
inventory and time-stamped photographs can help document the condition in which you
received the property.
Send discrepancies to the landlord or agent in writing. Cleaning first and reporting later can
make it harder to prove that a mark or damaged fitting was already present when the
tenancy began.
This first inspection is also the moment to record meter readings, locate the stopcock and
consumer unit and test smoke and carbon monoxide alarms according to the instructions
provided for the property.
Prepare a separate cleaning kit
Do not pack every cleaning product at the bottom of a box marked “kitchen”. Keep one
clearly labelled kit with you so it reaches the new property before the main load.
Useful supplies include:
- a vacuum cleaner with appropriate attachments;
- a mop and bucket;
- microfibre cloths and non-scratch sponges;
- an all-purpose cleaner suitable for the surfaces;
- kitchen degreaser;
- bathroom and limescale cleaner;
- glass cleaner;
- disinfectant for compatible high-touch areas;
- rubber gloves;
- bin bags;
- paper towels or washable cleaning cloths;
- a small step ladder or stable step stool;
- old towels for unexpected spills.
Read every label, ventilate the rooms and test unfamiliar products on an inconspicuous area.
Never mix cleaning chemicals. The Health and Safety Executive warns that chlorine-based
products can release toxic gas when combined with acidic or incompatible cleaners.
Clean in the right order
Work from cleanest areas towards the dirtiest ones, from high surfaces down to the floor and
from the back of each room towards the exit.
A practical sequence is:
- Remove abandoned items and loose rubbish.
- Open windows where safe and possible.
- Dust ceilings, fittings, vents and upper surfaces.
- Clean cupboards, wardrobes and fixed storage.
- Deep-clean the kitchen and bathrooms.
- Wipe doors, switches, handles and skirting boards.
- Vacuum throughout the property.
- Mop hard floors last.
If you mop too early, people carrying supplies or furniture will immediately walk over the
clean floor. Leave enough drying time before the removal team arrives.
Kitchen cleaning checklist
The kitchen should be one of your first priorities because cupboards and appliances become
much harder to clean once they contain food, crockery and cookware.
Cupboards and drawers
- Vacuum crumbs and loose debris from corners.
- Wipe shelves, drawer interiors, doors, handles and cupboard tops.
- Remove sticky residue without damaging the finish.
- Allow every surface to dry before adding liners or unpacking food.
Look for signs of pests, water damage or swollen boards around sinks and pipework.
Photograph and report anything concerning rather than covering it with your belongings.
Worktops, sink and splashbacks - Clean worktops with a product suitable for the material.
- Degrease splashbacks, tiles and grout where necessary.
- Clean and descale the sink and taps.
- Wipe the draining board and the seal around the sink.
- Disinfect compatible food-preparation surfaces according to the product instructions.
Natural stone, wood, laminate and composite surfaces do not all tolerate the same products.
“Stronger” is not automatically better; an acidic cleaner can permanently mark some
materials.
Appliances - Clean the hob, controls, extractor hood and removable filters where appropriate.
- Wipe the oven interior, racks, trays, door and seals.
- Clean the refrigerator and freezer shelves, drawers, handles and seals.
- Wipe the dishwasher interior, edges and filter area.
- Check the washing machine detergent drawer, seal and filter according to the manual.
- Clean behind and beneath appliances only when they can be moved safely.
Do not switch on a refrigerator or freezer immediately after transport unless the
manufacturer or removal team confirms it is safe to do so. Moving heavy appliances is a job
for people with the right equipment.
Bathroom cleaning checklist
Clean the bathroom before unpacking towels and toiletries so that personal items do not sit
beside old residue or get in the way.
- Clean and disinfect the toilet seat, lid, flush control and exterior.
- Clean the bowl with the appropriate product and brush.
- Descale taps, shower fittings and compatible screens.
- Remove soap residue from the bath, shower tray and tiles.
- Clean the sink, overflow and plug area.
- Wipe mirrors, cabinets, shelves and drawers.
- Clean extractor covers where safely accessible.
- Wash door handles, switches and radiator controls.
- Vacuum and mop the floor last.
Check sealant and grout for damage rather than trying to scrub away a structural problem.
Persistent mould, leaks or crumbling sealant should be reported and repaired, not simply
covered with stronger chemicals.
Keep one bathroom available for use during the move. Finish it first, stock it with soap, toilet
paper and a hand towel, then ask everyone to use that room while the rest of the property is
being prepared.
Bedroom and wardrobe checklist
Bedrooms may appear clean when empty, but dust often remains on wardrobe shelves,
skirting boards, window tracks and the tops of doors. - Dust light fittings and reachable upper surfaces.
- Vacuum inside fitted wardrobes and drawers.
- Wipe shelves, rails, handles and wardrobe doors.
- Clean windowsills, frames and accessible glass.
- Remove cobwebs from corners.
- Wipe skirting boards, doors and handles.
- Vacuum carpets slowly, including edges and corners.
- Mop hard flooring with a suitable product.
Let wardrobes dry completely before unpacking clothes. If a cupboard smells damp or shows
staining, investigate the cause rather than masking it with fragrance.
Living and dining area checklist
These rooms usually become the main route for movers, so complete the high and difficult-
to-reach work before furniture arrives, but expect to vacuum again afterwards.
- Dust ceiling corners, fittings and curtain rails.
- Clean blinds, windowsills and accessible frames.
- Wipe built-in shelving and storage units.
- Clean switches, sockets externally, handles and door frames.
- Remove washable marks from walls using a surface-safe method.
- Dust radiators only when they are cool.
- Vacuum carpet edges and empty corners.
- Clean hard floors, following the manufacturer’s care instructions.
Avoid saturating walls, laminate or wood flooring. Too much water can cause swelling,
staining or damage that is much more expensive than the dirt you were trying to remove.
Hallway, utility room and storage checklist
Entrances collect dirt quickly during a move, but fixed storage should still be cleaned before
coats, shoes and household supplies are unpacked. - Wipe the front door internally, handles and letterbox surround.
- Clean coat cupboards, shoe storage and shelving.
- Dust bannisters and wipe handrails.
- Clean the utility sink, worktop and appliance spaces.
- Vacuum under stairs and inside accessible storage cupboards.
- Check the garage, loft or shed for abandoned items, leaks and pest activity.
- Clear safe, agreed access routes for the removal team.
Do not block meters, stopcocks, electrical panels or heating controls with boxes.
Clean these high-touch areas
Some small surfaces are handled repeatedly from the first hour in a new home. Add them to
the checklist even if the rooms appear clean: - door and cupboard handles;
- light switches;
- bannisters and handrails;
- thermostat and heating controls;
- appliance handles and control panels;
- taps and flush controls;
- window handles;
- intercoms and alarm keypads.
Clean visible dirt first, then use a compatible disinfectant where appropriate. Follow the
stated contact time rather than spraying and wiping the product off immediately.
Leave the floors until last
Dust and debris fall as you clean upper surfaces, so finish with the floors.
Vacuum carpets methodically, using an edge attachment around skirting boards. If carpets
have significant stains, strong odours or evidence of previous pets, consider professional
cleaning before furniture covers the affected areas.
For hard floors, identify the material before choosing a product. Wood, natural stone, vinyl,
tile and laminate have different moisture and chemical tolerances. Vacuum or sweep first,
use only as much liquid as necessary and allow the floor to dry before boxes arrive.
After the movers finish, carry out a quick second vacuum or mop in the main traffic areas. A
two-stage approach is more realistic than expecting a floor to remain perfect while an entire
household crosses it.
What to prioritise if you have only two hours
If you receive the keys shortly before the removal van arrives, focus on the surfaces that will
be difficult or unpleasant to clean later:
- Photograph the property’s initial condition.
- Clean one toilet, sink and shower or bath.
- Wipe kitchen worktops, the sink and the cupboards needed immediately.
- Clean refrigerator shelves if food will be unpacked that day.
- Wipe the main wardrobe or drawers before adding clothes.
- Vacuum the rooms before large furniture enters.
- Clean handles, switches and other high-touch points.
Leave external windows, decorative details and low-priority rooms for later. The aim is to
create hygienic, usable spaces for the first night, not to complete a photographic show-home
clean under impossible time pressure.
Know when not to clean it yourself
Stop and seek appropriate professional advice if you discover:
- extensive mould or an active leak;
- suspected asbestos-containing material;
- needles, bodily fluids or unknown chemical residue;
- a serious pest infestation;
- unsafe electrical fittings;
- damaged glass or unstable fixtures;
- heavy appliances that must be moved without suitable equipment.
Ordinary cleaning cannot solve a building defect, and aggressive scrubbing may disturb
hazardous materials or destroy evidence of a problem that the landlord, seller or contractor
needs to address.
When a professional move-in clean is worth it
Professional cleaning makes the most sense when the property is large, the time between
key collection and delivery is short, the kitchen needs degreasing, carpets or floors require
specialist equipment, or you are already managing packing, children, pets and a complicated
removal.
Before accepting a quote, confirm exactly what is included. Ask about cupboard interiors,
oven and refrigerator cleaning, windows, carpets, limescale, cleaning products and whether
the property must be completely empty.
Changing Keys provides move-in and move-out cleaning alongside kitchen, bathroom,
window and floor cleaning services. Cleaning can also be planned around the house
removal service so that the empty property is prepared before unloading begins.
Provide the property size, current condition, access details and your moving schedule when
requesting the quote. Photographs will help the team estimate the work more accurately
than the number of bedrooms alone.
Start unpacking into a genuinely clean home
A useful move in cleaning checklist is about timing as much as cleanliness. Deal with
cupboards, wardrobes, appliances, bathrooms, corners and floors while they are still accessible. - Document problems before altering the property, work from top to bottom and
- keep the final floor clean until the last possible moment.
- You can clean decorative details after settling in. What matters before unpacking is creating
- safe, dry and usable spaces for food, clothing, bedding and daily routines. Once those
- foundations are ready, every box you open can go directly where it belongs instead of
- creating another cleaning job for later.